
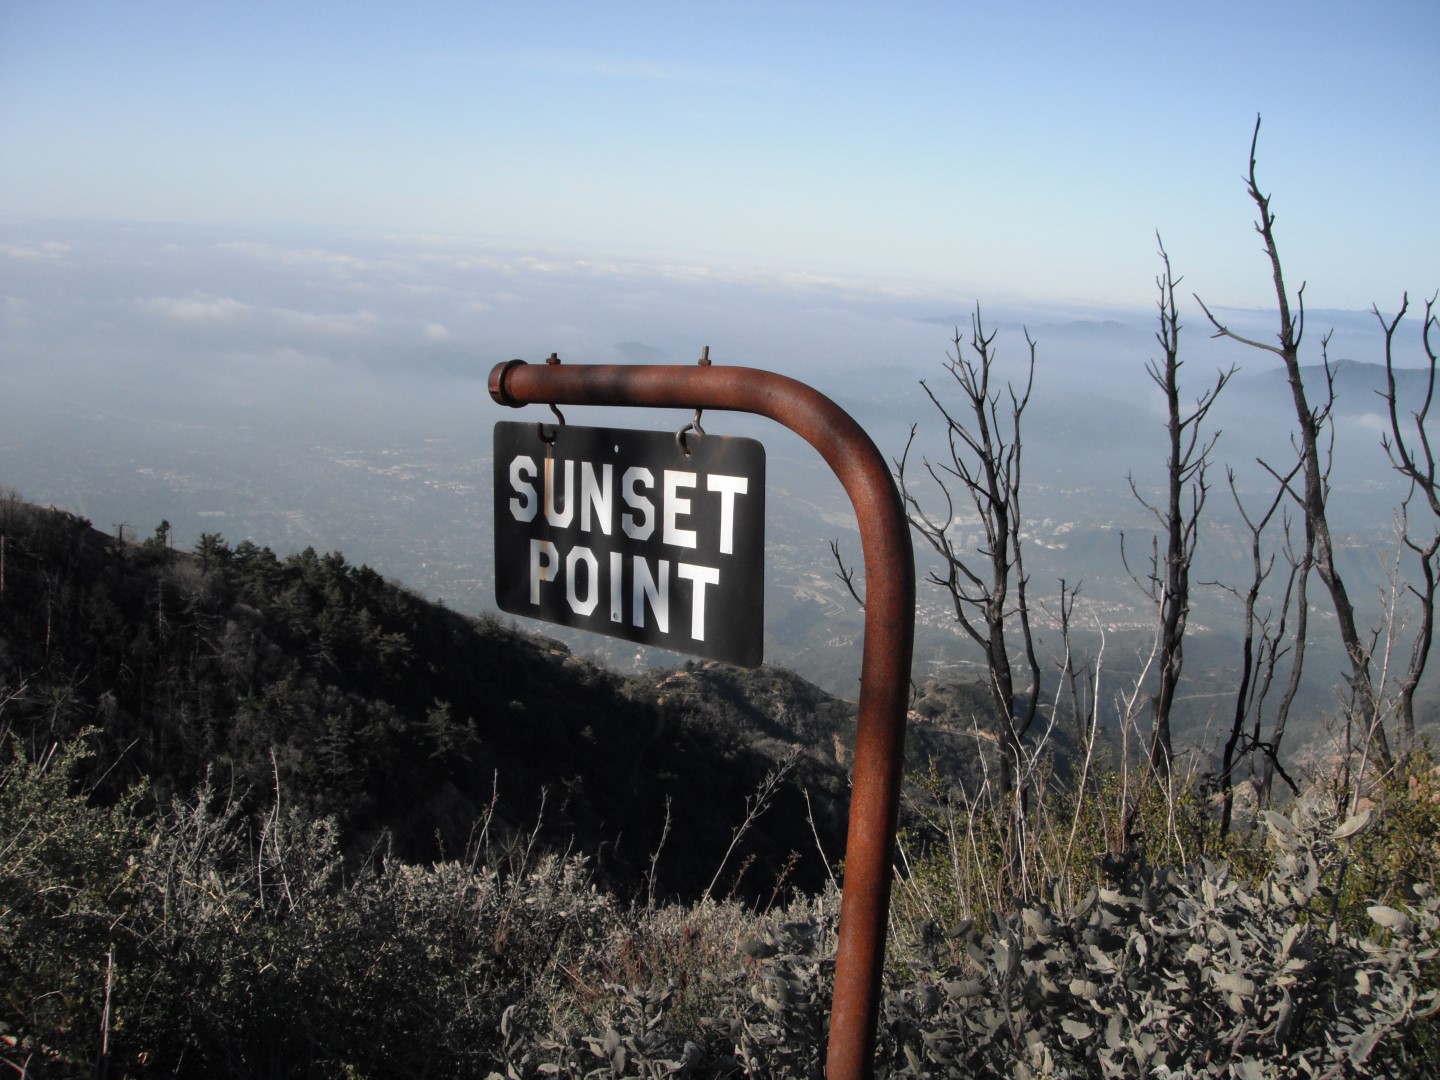
| Mt. Wilson is part of the San Gabriel Mountains and has been a popular location for hikers and bikers for many years thanks to its scenic views and miles of trails. It is also the location of the Mt. Wilson Observatory with its dual telescopes. The peak of Mt. Wilson is at 5700 feet making for some weather and temperature changes on the way down. It can be nice and cold when you start your ride from the top and then warm up as you get towards the bottom. It can also get pretty windy up top as well so make sure to check the weather and have the right clothing before you start your ride. |
|
|||||||||||
This ride is best suited for a shuttle or 2 car adventure since you most likely don't want to ride 13 miles up to the top even though you will see people riding up as you are on your way down. There are a couple of shuttle services that run from the JPL parking lot to the top on Mt Wilson Red Box Rd where they drop you off. The prices will vary depending on what type of ride you are doing and which shuttle you take but it will cost you around $15 for you and your bike to take the 20-30 minute drive to the top.
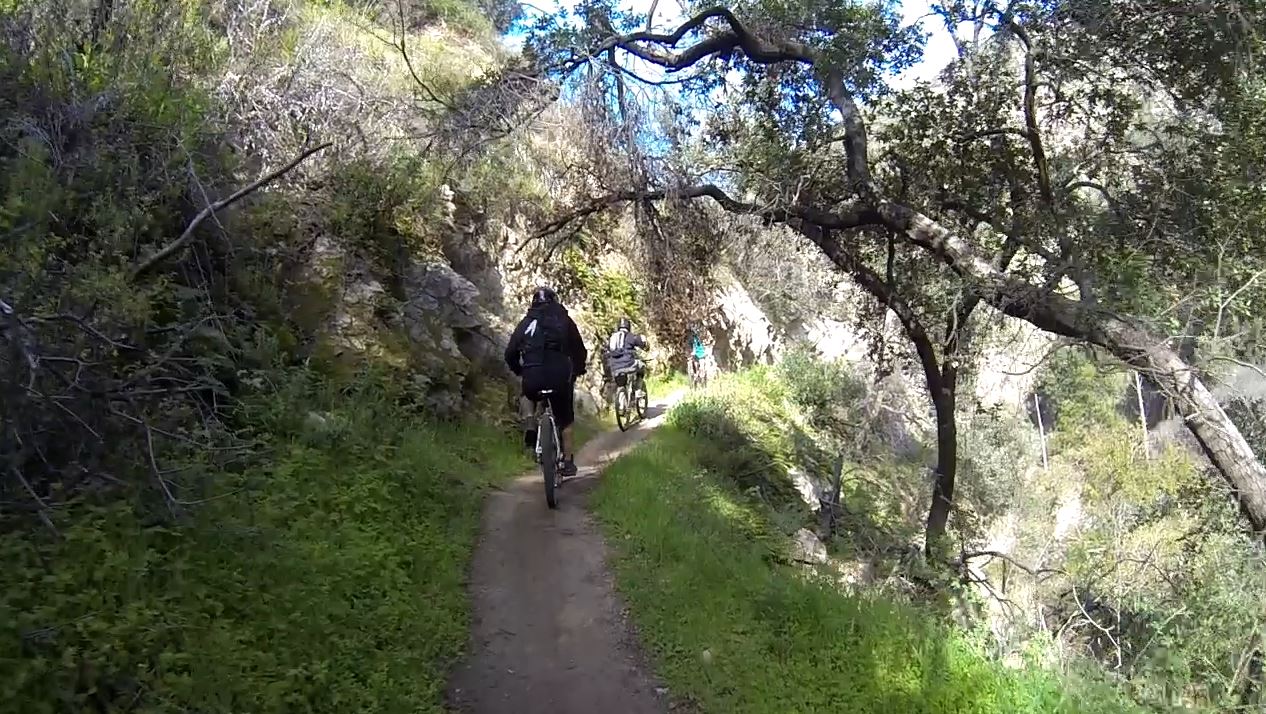
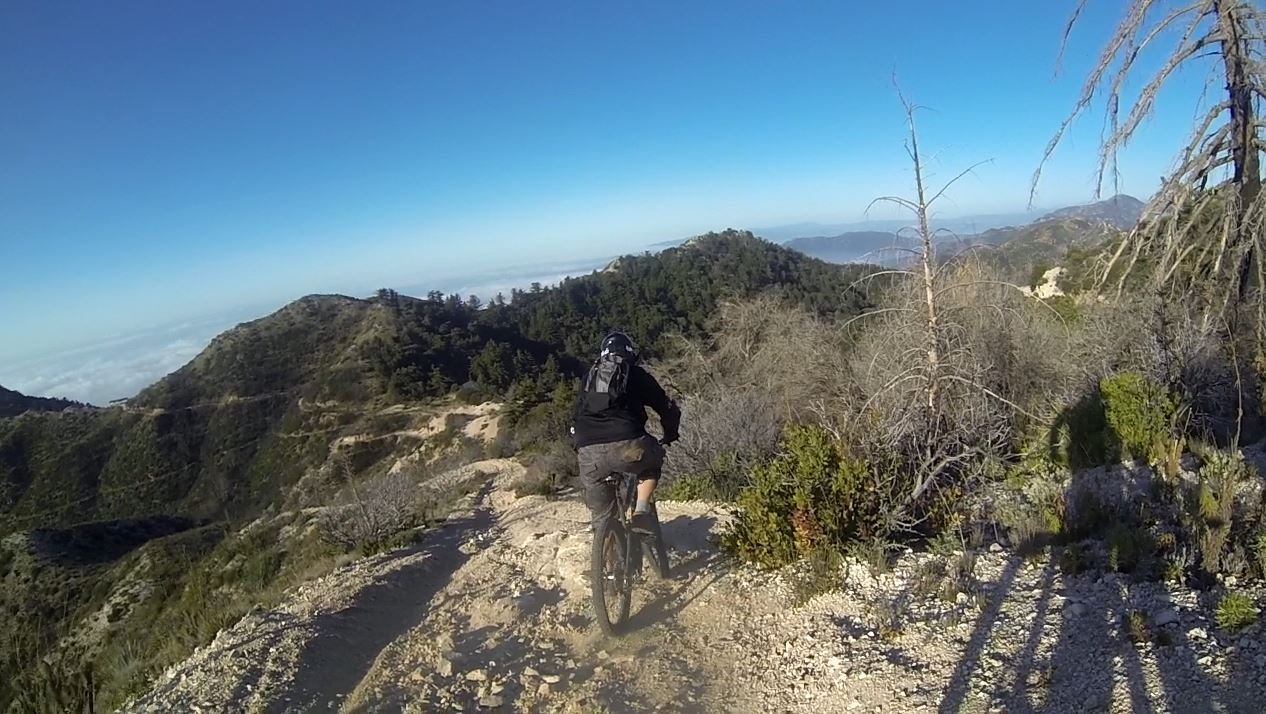
The trail itself changes as you make your way down. Near the top there is a lot of loose rocks and dirt making for some slippery descents. There are a couple of places where you can ride the "chute" down or take the less dangerous switchbacks and go around. As you work your way down the loose rock turns into more solid rock making for a bumpy ride which can be fun for those who like that sort of terrain. The lower parts of the trail tend to smooth out and have a better flow allowing you to relax after tackling the hard parts up top.
Mt. Wilson Trail Top Half Video
Mt. Wilson Trail Bottom Half Video
Mt. Wilson Trail Review
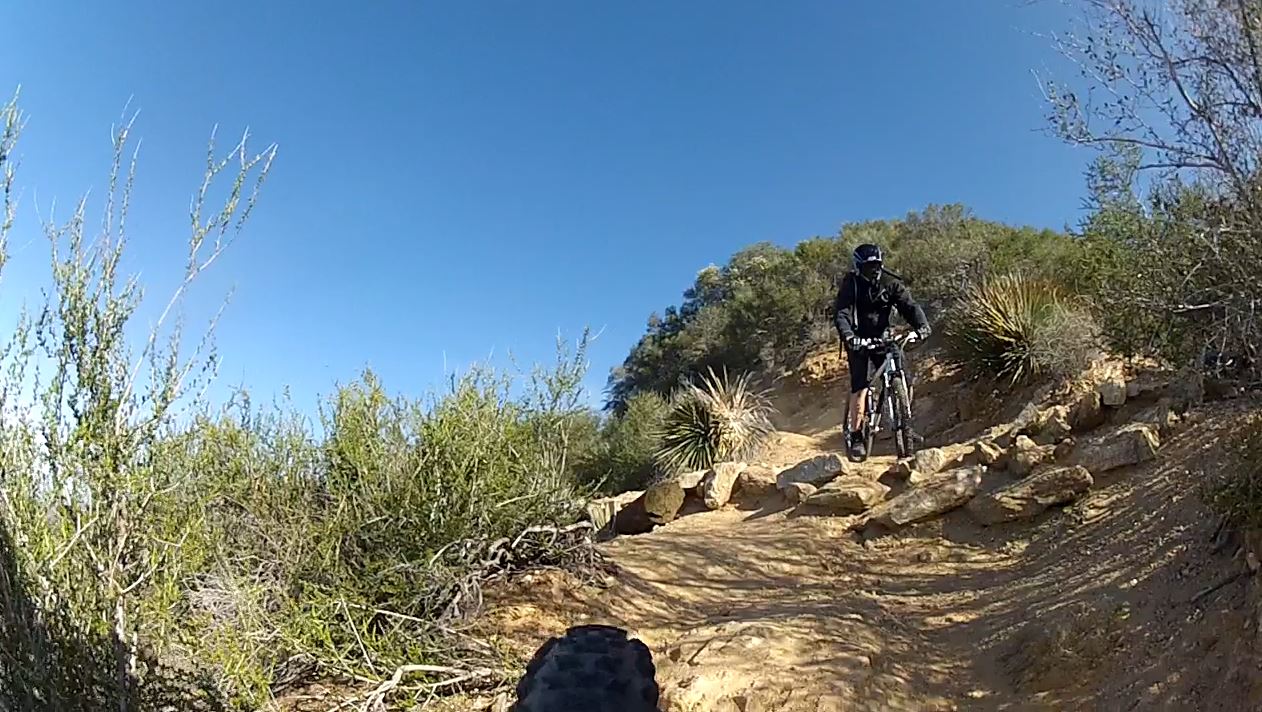
This ride is often described as one of the most technical rides in Southern California but that may or may not be accurate depending on who you ask. The trail itself is not terribly hard but there are some parts that are not for the faint of heart since you can easily get tossed over your handlebars. You may also find yourself walking some parts if you don't feel up to taking on the rocks or the sharp turns with obstacles.
One reason it may get the dangerous reputation is because some areas of the trail have a drop off to your death right next to where you are riding so if you are not careful you can be in for some serious pain or worse. And to make things worse the trail is off camber (not level) in many places so it makes you really pay attention. We find that if you keep looking ahead and not off to the death drop you will do a lot better. Keep in mind that the whole trail is not like this but rather just sections. Other sections still have some pretty steep hills you can fall down if you are not careful. If it wasn't for the dangerous drops the trail would get a 4 star technical rating.
There are a lot of switchbacks along the way so if you find yourself on a roll having a good time that may change when you have to slow for the constant turns of which some are pretty sharp or have rocks or steps to go along with them. Then again there are some nice stretches of fast yet technical terrain that you will really have some fun on if you so desire. There will also be an uphill section along the way which is maybe a mile or so long and not too steep so don't think it's all fun and games!
Some of the lower sections are not as technical or steep and can be a little on the boring side but that can be a plus for less experienced riders. There are a couple of sections at the very end that offer some excitement with some rutty areas and even some spots to catch a little air. Once you do the trail a couple of times and get used to it and see how it flows you will have more fun the more you do it. The first time may take you a couple of hours or so depending on how often you stop and whether you get lost or not.
Many people gear up with a full face helmet and pads while others ride down it with just a basic helmet and their seat up so dress according to how you plan on riding the trail. For your first time you may want to wear some protection since you will not be familiar with the trail and what obstacles you will be coming up on.
Mt. Wilson Trail Pictures
Directions to Mt. Wilson Trail
View Mt Wilson Trail in a larger map
To ride Mt. Wilson Trail it is recommended to do the shuttle or take 2 cars so you can park one at the bottom and one at the top. Mt. Wilson MTB Adventure\SCOA offers shuttle service to most of the trails on Mount Wilson for a reasonable cost.I would say pay for the shuttle unless you have a lot of people where it may save the group some money to do their own shuttle. Keep in mind that if you do your own thing you will have to do the long drive back up to the top to get the second car.
You will want to meet the shuttle or park the first car at the JPL parking lot which is located on N. Windsor Ave. (22B) exit at Mountain View St. To get there make your way towards Pasadena on the 210 Freeway and exit N. Windsor Ave. and head north a little less than a mile and the parking lot will be on your left. You will most likely see cars with bike racks all over the place so you will know you are there.
You will want to meet the shuttle or park the first car at the JPL parking lot which is located on N. Windsor Ave. (22B) exit at Mountain View St. To get there make your way towards Pasadena on the 210 Freeway and exit N. Windsor Ave. and head north a little less than a mile and the parking lot will be on your left. You will most likely see cars with bike racks all over the place so you will know you are there.
If you are not taking the shuttle you will need to head back on the 210 west after you drop off the first car and take exit 20 for CA-2/Angeles Crest Hwy toward La Cañada Flintridge and make a right and head up CA-2 W/Angeles Crest Hwy for around 14 miles until you get to Mt Wilson Red Box Rd. and make a right. Then drive up another 2.3 miles and there will be a dirt cut out off to the right where you can park. There will also be a white gate blocking off a dirt fire road. Next take the dirt road up a bit and you will go through a short tunnel and up a small hill and then the fun begins.
